
Post by monokr0me on Feb 9, 2011 4:30:40 GMT
Hello, and welcome to the first of a series of GIMP tutorials I am starting. This was requested by Draxor. Along with the avatar, you will also learn about the basics of the extremely useful "Path" tool.
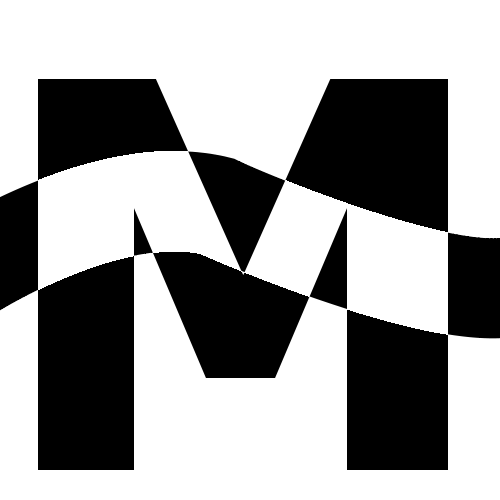
The image we will be making will look like:

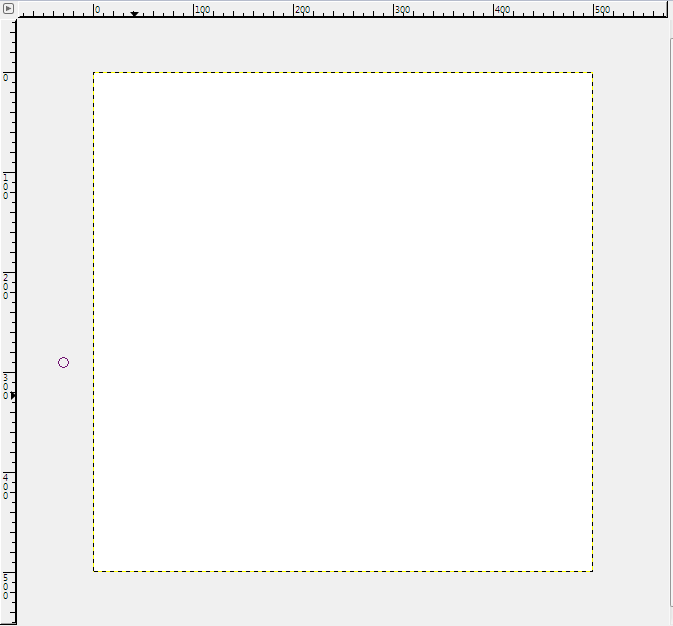
To start off, open up a 500x500 image. Later, we will scale it down to avatar size, but this gives us more room to work with.
Next, select the Path tool . Now you'll want to drag the edges of your window so that you have some blank space around your image. Click in the blank space to the right of your image, a dot should appear like this:
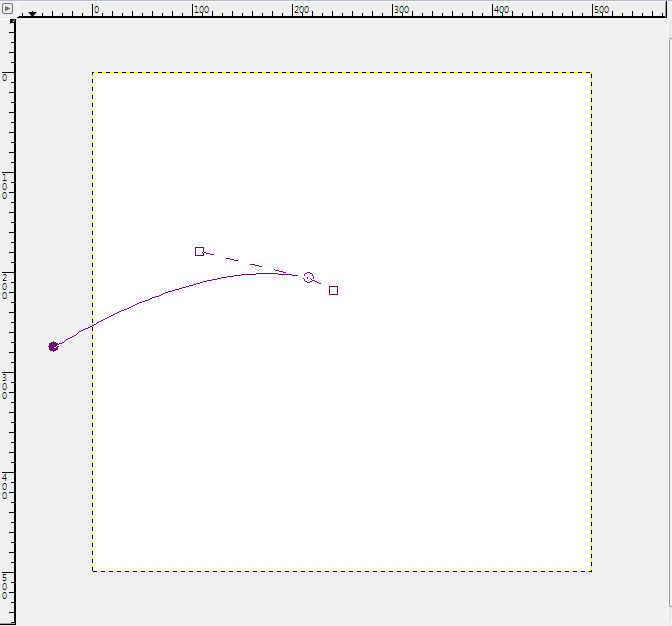
Next, you'll want to click somewhere in the middle of the image. DO NOT LET GO OF THE MOUSE BUTTON. While you hold the button down, drag it up a bit until the line starts to curve. Now you can let go. There should be squares sticking out of the new dot. Grab the leftmost one and move it around until the line curves in a satisfactory way. Pic:
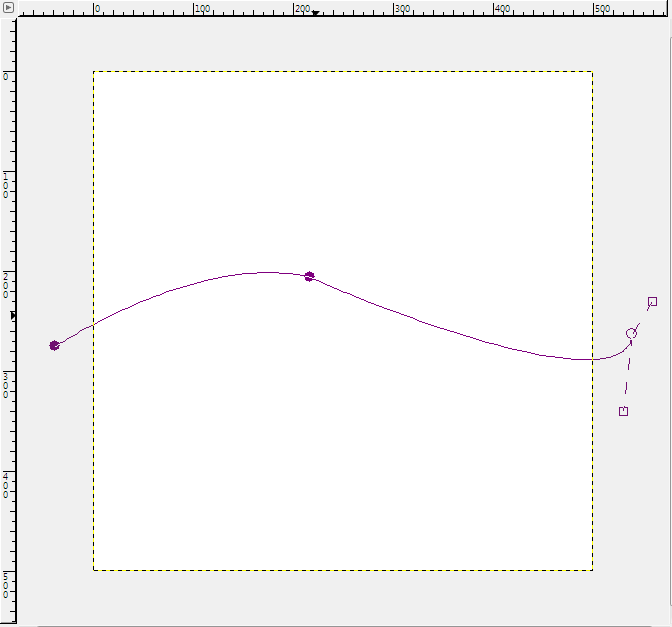
Make another dot on the empty space to the right side of the image, and bend the square until the whole curve has a nice flow to it. This may take a few tries, but eventually you'll have something like this:
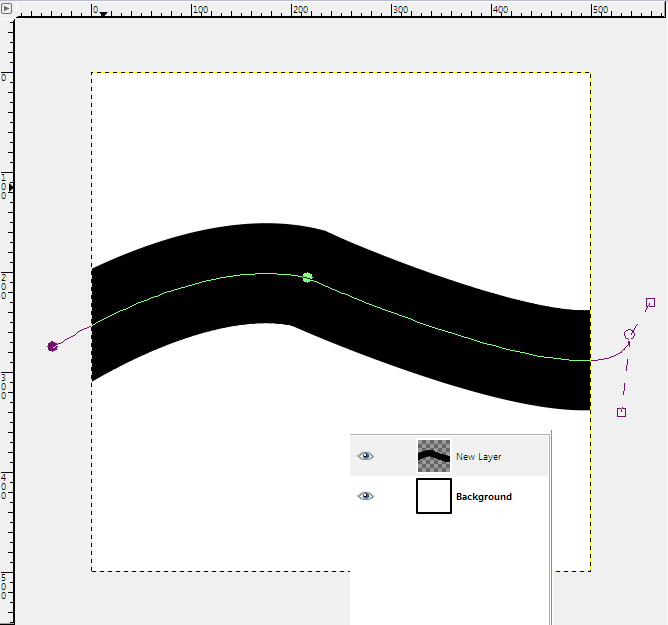
Now our path is done. Create a new transparent layer [Shift+ctrl+N]. Now, using the Path tool, click "stroke Path". Mess around with the value until you get the thickness that you like. Do not worry about the color, this is a placeholder. You will now have something like this (I used a thickness of 100px):
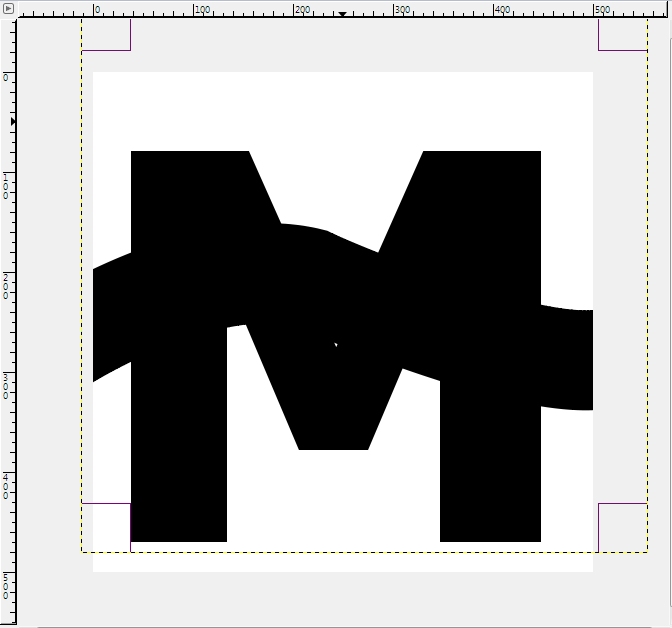
Now we are done with the curve for now. Now you'll want to take your letter (or letters) and make them big enough to fill the entire image. This works best with "bold" fonts. Pic:
Now duplicate your curve layer (Layer > duplicate layer). Right click the text layer, and click "Alpha to selection". Now click one of the curves, and hit the 'delete' key on your keyboard.
Next, select the "Fuzzy Select" tool and, on your unchanged curve layer, click the curve once. The curve should now have a dotted outline (if it doesn't, you are on the wrong layer). Now, click the text layer, and hit the delete key on your keyboard.
You can now hide your unchanged curve (click the eye next to it in your layer screen) and you should have:
You can now add further effects and styles to this until you are satisfied. I hope this tutorial has helped you learn the following:
Any questions, comments, or critiques may be posted here. Enjoy!
The image we will be making will look like:
To start off, open up a 500x500 image. Later, we will scale it down to avatar size, but this gives us more room to work with.
Next, select the Path tool . Now you'll want to drag the edges of your window so that you have some blank space around your image. Click in the blank space to the right of your image, a dot should appear like this:
Next, you'll want to click somewhere in the middle of the image. DO NOT LET GO OF THE MOUSE BUTTON. While you hold the button down, drag it up a bit until the line starts to curve. Now you can let go. There should be squares sticking out of the new dot. Grab the leftmost one and move it around until the line curves in a satisfactory way. Pic:
Make another dot on the empty space to the right side of the image, and bend the square until the whole curve has a nice flow to it. This may take a few tries, but eventually you'll have something like this:
Now our path is done. Create a new transparent layer [Shift+ctrl+N]. Now, using the Path tool, click "stroke Path". Mess around with the value until you get the thickness that you like. Do not worry about the color, this is a placeholder. You will now have something like this (I used a thickness of 100px):
Now we are done with the curve for now. Now you'll want to take your letter (or letters) and make them big enough to fill the entire image. This works best with "bold" fonts. Pic:
Now duplicate your curve layer (Layer > duplicate layer). Right click the text layer, and click "Alpha to selection". Now click one of the curves, and hit the 'delete' key on your keyboard.
Next, select the "Fuzzy Select" tool and, on your unchanged curve layer, click the curve once. The curve should now have a dotted outline (if it doesn't, you are on the wrong layer). Now, click the text layer, and hit the delete key on your keyboard.
You can now hide your unchanged curve (click the eye next to it in your layer screen) and you should have:
You can now add further effects and styles to this until you are satisfied. I hope this tutorial has helped you learn the following:
- A new image style
- The basics of paths
Any questions, comments, or critiques may be posted here. Enjoy!
